Showing posts with label tutorial. Show all posts

Sunday, 28 September 2014

hoop scarf

patterned eyelet hoop scarf

I recently finished this knitting project that I started back in July - just in time for a change of season. I'm a great lover of scarves both for comfort and warmth and think this one will keep me nice and cosy throughout the autumn and winter months.

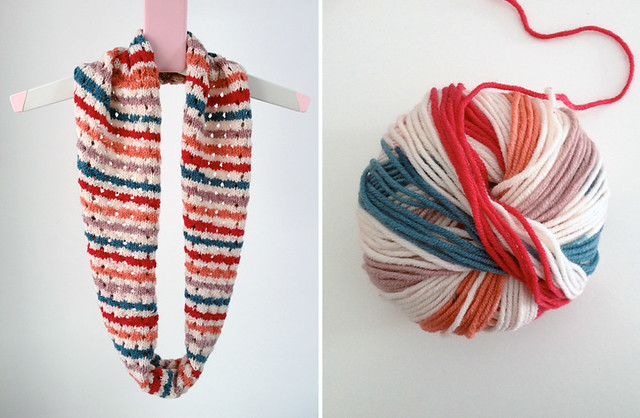
I started this project after finding three balls of wool for sale in my local haberdashery shop and not being able to resist the combination of colours. I was limited by the size of my project, but wanted to use all the yarn up so decided a mini hoop scarf would be the way forward.

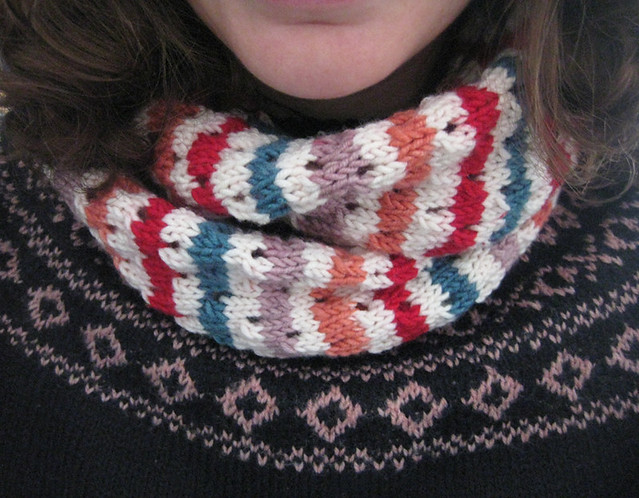
The length came out just right; it can either be worn loosely around the neck, or wrapped twice for extra cosiness (my preference). It ended up working perfectly with the wool too as it came out in even stripes (a stroke of luck!).

I've written out a pattern below if anyone wants to make one of their own.

hoop scarf

Patterned eyelet hoop scarf

Yarn
Any double knit wool. I used 3x50g balls of Debbie Bliss Rialto DK Print (colour 001 - Florence)

Needles
4mm (size 8)

Instructions
Cast on 49 sts.

Row 1: k
Row 2: k1, p to last st, k1
Row 3: k1, *k2, k2tog, yo. Repeat from * to last 4 sts, k4
Row 4: k1, p to last st, k1
Row 5: k
Row 6: k1, p to last st, k1
Row 7: k1, *k2tog, yo, k2. Repeat from * to last 2 sts, k2
Row 8: k1, p to last st, k1

The above 8 rows form the pattern. Repeat until your scarf reaches your desired length.

Cast off.

Finishing up
Sew the cast on and cast off edges together to form a loop.
Sew in any loose ends.

Your scarf is now ready to wear!
Keep yourselves cosy now.

Sunday, 7 September 2014

let's make: party decorations


colourful dots party garland

My good pal and housemate Mark recently hosted a little daytime folk gig at our house - it was great!

For the occasion Ben and I offered to make some decorations, so we spent a couple of hours one afternoon knocking up a few metres of colourful paper streamers. I've made something like this once before, but not in such large quantities - it's really quick and easy to make though (especially when you have a mini production line system).

I've written out the instructions below if you want to make some yourself...

hole punching

You will need:

A selection of coloured paper in any colour combination of your choice (this time we went for ALL the colours!)
A giant hole punch (pictured above) - my one cuts out circles to a diameter of about 4cm but I think they come in different sizes.
A sewing machine & whatever coloured thread you fancy.


Instructions

Hole punch out as many circles as you need, in a combination of colours. We went a bit crazy and kept on punching until we ran out of most of our paper.

We kept the circles in individual piles so we could work out the colour pattern as we went, but you might just want to mix them all in together and see what sequence comes to hand as you sew.

sewing

When you have all the circles you need (or enough to start sewing if you have an assistant who can keep punching) set up your sewing machine to work in straight stitch and then simply sew away. We tried to keep an even mix of each colour in a random sequence so it wouldn't look too regular.

And then we just kept going, taking turns on each task, until we had metres of the stuff!

streamers

The only tricky bit is trying to stop the garland from getting tangled in itself. We ended up draping them in strips over furniture as we went.

Once you have used up all your circles, then all that's left to do is: DECORATE!

decorations

Oh, and have a fun party!