Thursday, 11 December 2014
a festive wreath collection
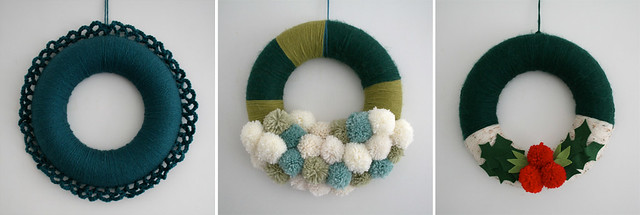
I made some wreaths for Christmas this year.
It was a nice project for the winter evenings and I'm pretty pleased with how they turned out. In fact, I wish I'd made more! I'm going to give a couple away as gifts, but one is a keeper I think.
To make them I used some polystyrene rings as a firm base and then decorated them with wool and felt. I wanted to experiment a bit so they are all a bit different...
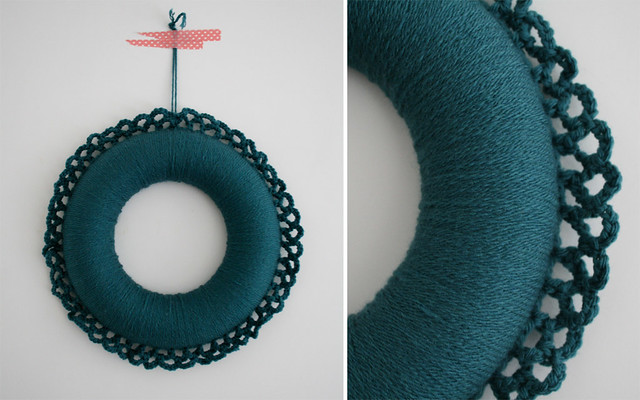
Crochet lace ring
This one is based on the simple statement wreath found on Lisa's blog, Good knits. It was so easy to make and I love the fact that you crochet straight onto the ring.
I can definitely see myself making more of these, in any number of colours. Who says you can't hang a wreath all year round.
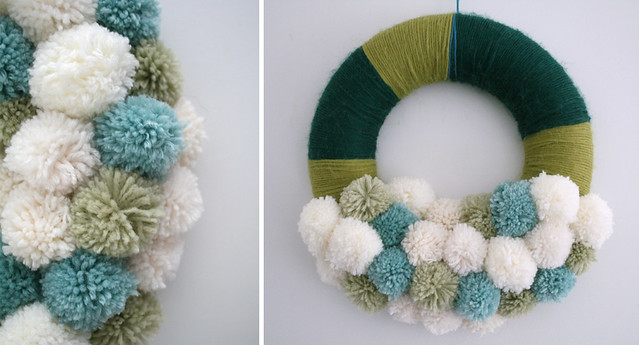
Pompom party
I started this one by wrapping wool around the based until it was completely covered, then I glued on loads and loads of mini pompoms - I think they look like snowballs!
Thanks to Ben for helping out in my pompom factory - it was quite satisfying to spend an evening creating a big pile of woolen puffs. This is a pretty busy wreath but I think it's nice and cheerful.
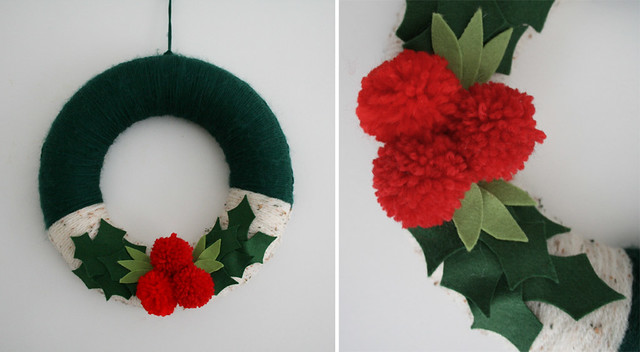
Holly leaves
This one I also started by crocheting around the ring. Then I made some holly leaves and pompom berries to add as decoration. Nice and festive.
I really like how they look when they're together. All ready for Christmas.
Monday, 10 November 2014
sloe sundays
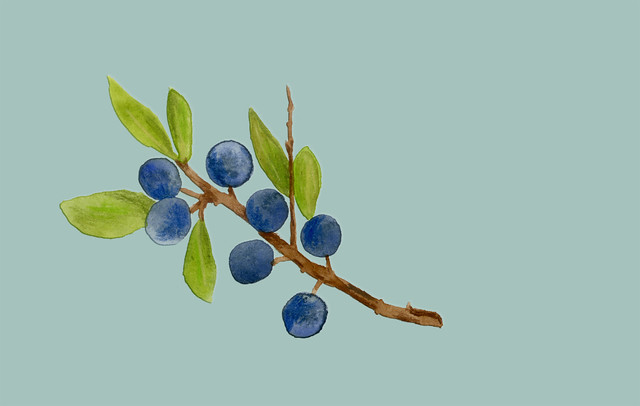
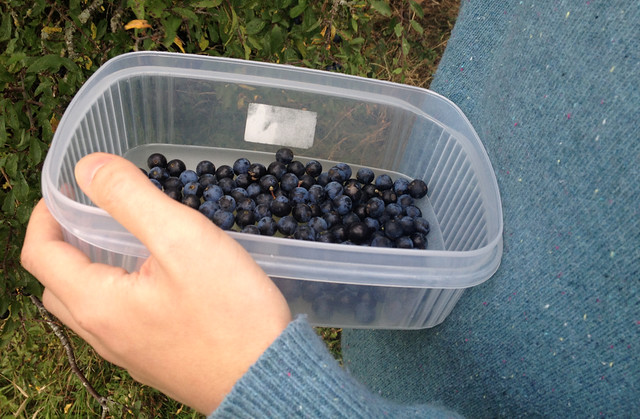
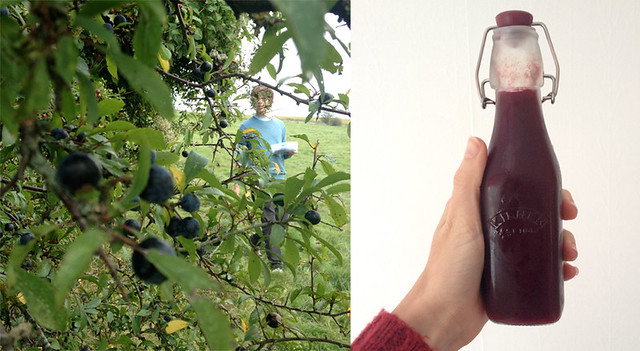
At the end of September we spent an afternoon up on the downs foraging for berries. We came back with a small tub full of blackberries for a Sunday evening apple crumble and an even bigger haul of sloes which I put in the freezer and forgot about for a while.
A few weeks later Ben and I made a batch of sloe gin (more about that another time) which used up about two thirds of the berries we had. I thought it would be a waste to throw the rest away so I put them back in the freezer with the vague idea that I'd make another batch of gin when I'd picked up another bottle.
However, this weekend I went around to Hannah's house for a delicious lunch party and was inspired by the sloe syrup that she had made and served with ice cream for pudding. It was delicious! As was her elderflower gin which I was very lucky to sample.
I decided to follow Hannah's lead and make some syrup to use up the rest of the sloes. It's super easy to make and I've written out the recipe below in case any of you want to try.
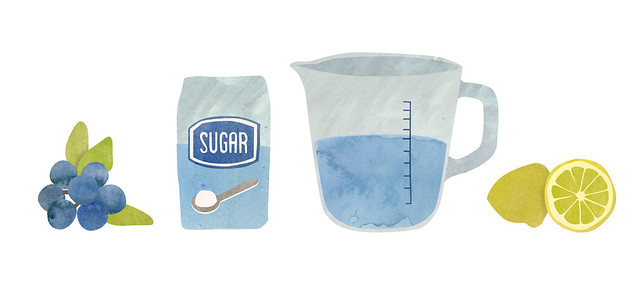
Ingredients
Equal parts sloes, sugar and water.
I used:
600g sloe berries
600g granulated sugar
600ml water
+
Juice of half a lemon
Instructions
Put the sugar, sloes and water into a large saucepan and simmer for 40 minutes, stirring often.
The mixture will turn a lovely deep purple colour.
I added the lemon juice to the mixture halfway through simmering.
Next strain the mixture through a colander to remove the bulk of the sloe berries, then strain through fine muslin to remove any smaller bits. I ended up with about 600ml of syrup after straining.
Pour the mixture into sterilised bottles or containers, and seal. Once opened keep the syrup in the fridge.
I decided to freeze half of my mixture to keep for later.
Uses
The syrup is delicious as an accompaniment for ice cream. I suspect it would also make a nice pancake topping and could be used to make some great gin cocktails too.
Apparently it is also rich in vitamin C and has been recommended to treat colds.
Medicinal and tasty too. Enjoy!
Labels:
food,
foraging,
illustration,
recipe,
sloe syrup
Sunday, 28 September 2014
hoop scarf
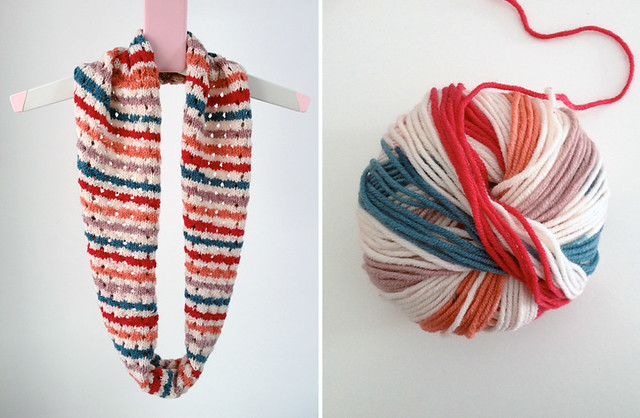
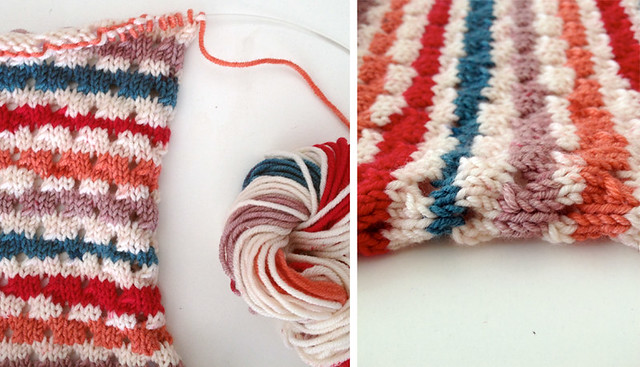
I recently finished this knitting project that I started back in July - just in time for a change of season. I'm a great lover of scarves both for comfort and warmth and think this one will keep me nice and cosy throughout the autumn and winter months.
I started this project after finding three balls of wool for sale in my local haberdashery shop and not being able to resist the combination of colours. I was limited by the size of my project, but wanted to use all the yarn up so decided a mini hoop scarf would be the way forward.
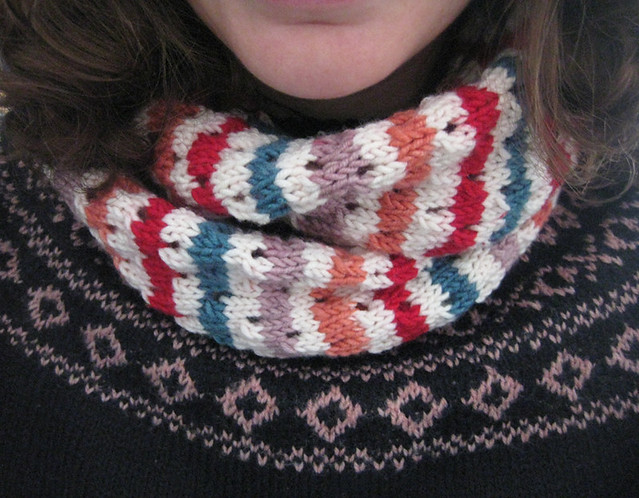
The length came out just right; it can either be worn loosely around the neck, or wrapped twice for extra cosiness (my preference). It ended up working perfectly with the wool too as it came out in even stripes (a stroke of luck!).
I've written out a pattern below if anyone wants to make one of their own.
Patterned eyelet hoop scarf
Yarn
Any double knit wool. I used 3x50g balls of Debbie Bliss Rialto DK Print (colour 001 - Florence)
Needles
4mm (size 8)
Instructions
Cast on 49 sts.
Row 1: k
Row 2: k1, p to last st, k1
Row 3: k1, *k2, k2tog, yo. Repeat from * to last 4 sts, k4
Row 4: k1, p to last st, k1
Row 5: k
Row 6: k1, p to last st, k1
Row 7: k1, *k2tog, yo, k2. Repeat from * to last 2 sts, k2
Row 8: k1, p to last st, k1
The above 8 rows form the pattern. Repeat until your scarf reaches your desired length.
Cast off.
Finishing up
Sew the cast on and cast off edges together to form a loop.
Sew in any loose ends.
Your scarf is now ready to wear!
Keep yourselves cosy now.
Friday, 12 September 2014
a cottage in cornwall
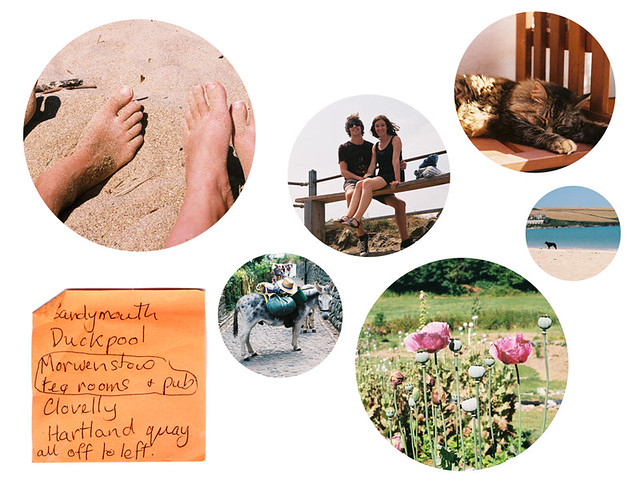
Unfortunately I've been feeling pretty under the weather this week. To distract myself from the lurgy and to cheer myself up I've been looking back at photos from our summer holiday in Cornwall.
We had a great time last year, and this time was no different. In fact, I think it probably surpassed last year (not least because we went for an extra day this time). We booked a great place to stay through Airbnb in a little village called Charlestown.
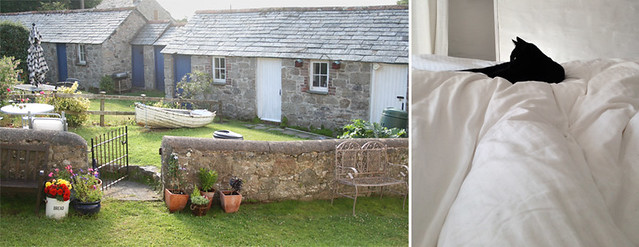
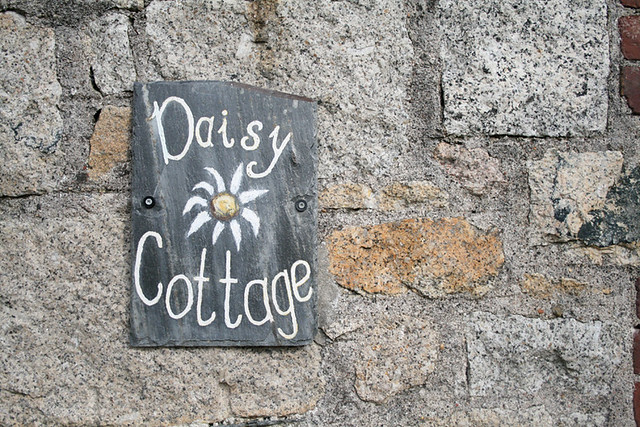
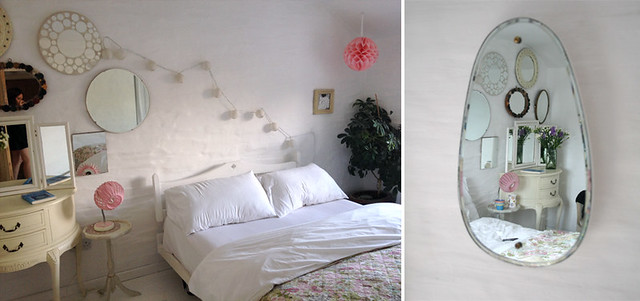
Daisy Cottage was like a dream home - such a sweet little cottage with a sea view from the bedroom and beautiful interior decoration. Oh, and Rudy the cat - who made our stay even better. What a nice one!
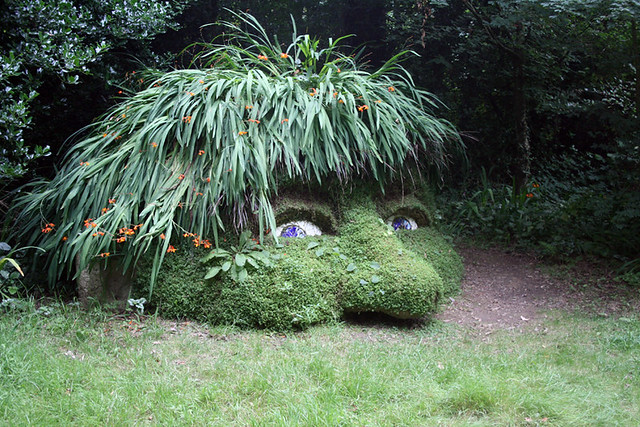
I haven't spent much time on the south coast of Cornwall so it was nice to explore the area around Charlestown. Luckily we were staying near the Lost Gardens of Heligan and the Eden Project so we paid visits to both - I have so many photos of interesting flowers and plants that I could be here all day uploading photos (maybe another time?) They're a really good drawing reference so maybe I will share some botanical sketches too.
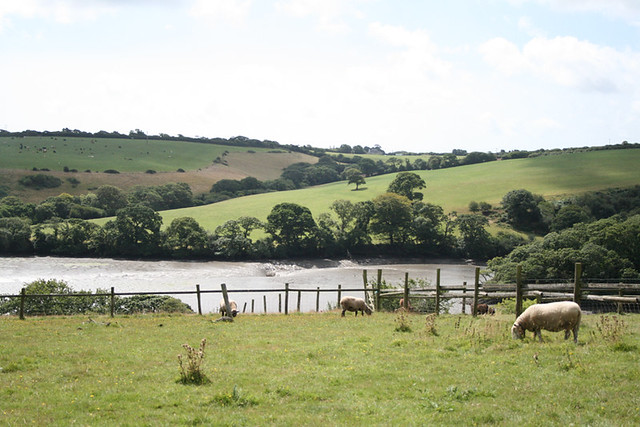
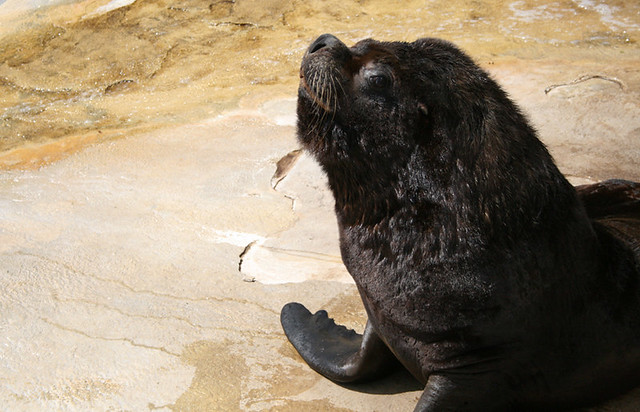
We also visited the Seal sanctuary in Gweek which was a real treat. My favourites were the big sea lions, whilst Ben liked the Humbolt penguins and the otters. The sanctuary is nested in a really peaceful location along a river estuary which made it a really nice day trip.
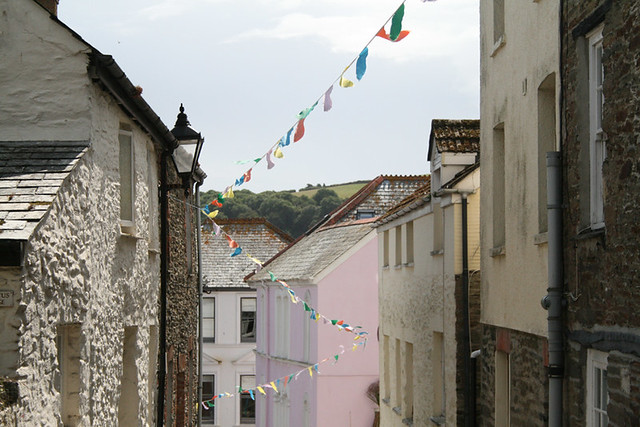
We also popped into Falmouth, Mevagissey and Fowey during our stay. I do love Cornish harbour villages and towns.
Happy faces all round.
Sunday, 7 September 2014
let's make: party decorations
My good pal and housemate Mark recently hosted a little daytime folk gig at our house - it was great!
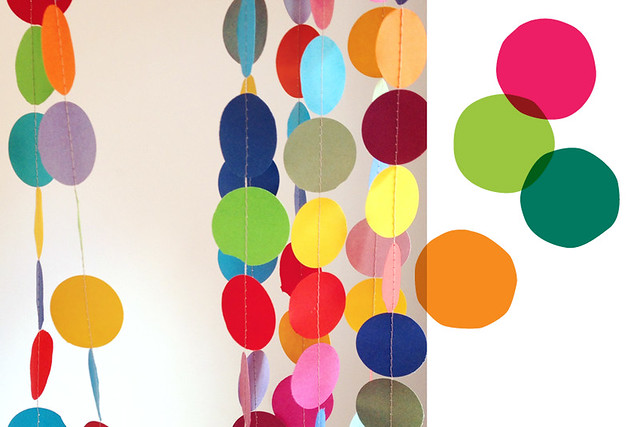
For the occasion Ben and I offered to make some decorations, so we spent a couple of hours one afternoon knocking up a few metres of colourful paper streamers. I've made something like this once before, but not in such large quantities - it's really quick and easy to make though (especially when you have a mini production line system).
I've written out the instructions below if you want to make some yourself...
You will need:
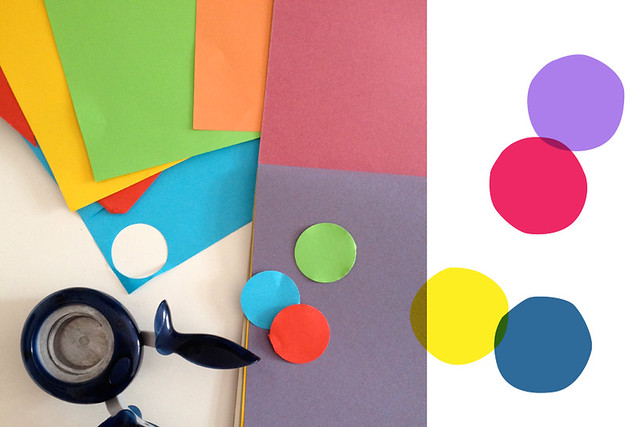
A selection of coloured paper in any colour combination of your choice (this time we went for ALL the colours!)
A giant hole punch (pictured above) - my one cuts out circles to a diameter of about 4cm but I think they come in different sizes.
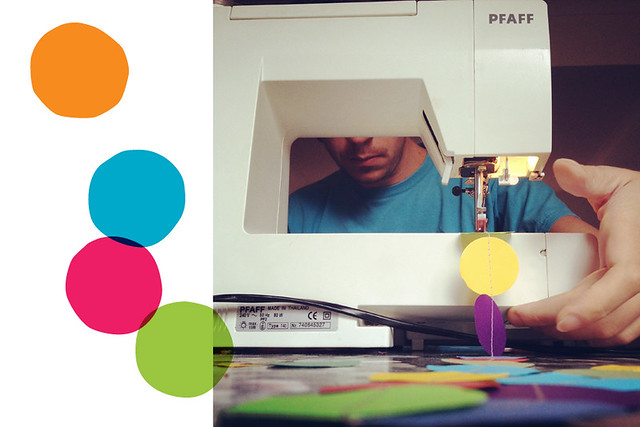
A sewing machine & whatever coloured thread you fancy.
Instructions
Hole punch out as many circles as you need, in a combination of colours. We went a bit crazy and kept on punching until we ran out of most of our paper.
We kept the circles in individual piles so we could work out the colour pattern as we went, but you might just want to mix them all in together and see what sequence comes to hand as you sew.
When you have all the circles you need (or enough to start sewing if you have an assistant who can keep punching) set up your sewing machine to work in straight stitch and then simply sew away. We tried to keep an even mix of each colour in a random sequence so it wouldn't look too regular.
And then we just kept going, taking turns on each task, until we had metres of the stuff!
The only tricky bit is trying to stop the garland from getting tangled in itself. We ended up draping them in strips over furniture as we went.
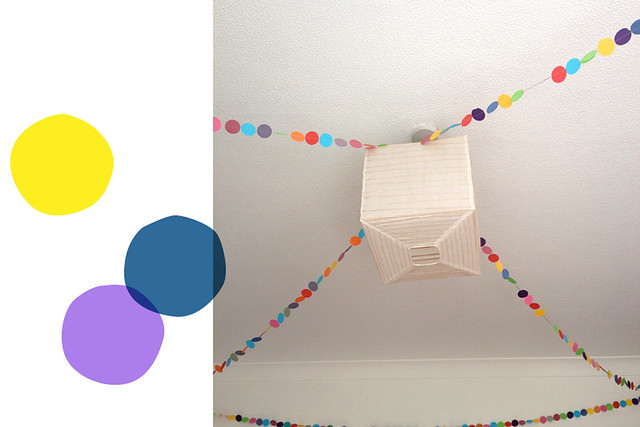
Once you have used up all your circles, then all that's left to do is: DECORATE!
Oh, and have a fun party!
Sunday, 3 August 2014
plants for the house
I acquired a few new plants for the house this weekend. All of them were sort of by chance, but I'm very pleased with my new collection.
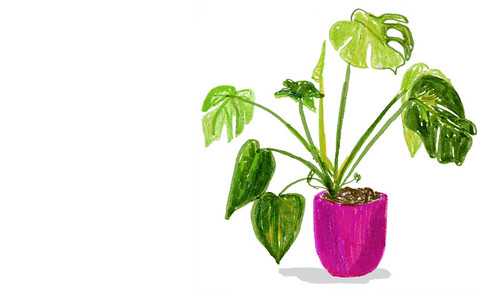
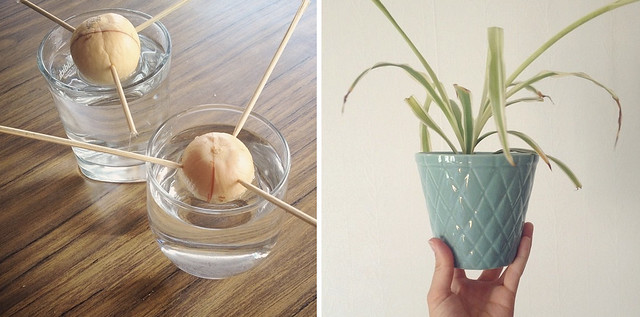
A neighbour on my road was giving away some plants so I helped myself to a couple. There is a pretty strong and healthy cheese plant (monstera delicosa) and a little spider plant which looks like it needs a little more looking after. To make it look more cheerful I have put it in this nice blue pot I picked up in a charity shop in Worthing on Friday.
Ben and I are also trying to grow some new plants from these avocado seeds. I've seen it done already by a couple of fellow bloggers so fingers crossed! Here's a helpful guide I found if any of you want to give it a go too.
I also want to try and grow a pineapple - but we'll see about that one...
Sunday, 27 July 2014
caught on film
I finished another camera film a couple of weeks ago. A nice collection of outings and trips away from the late spring and early summer.
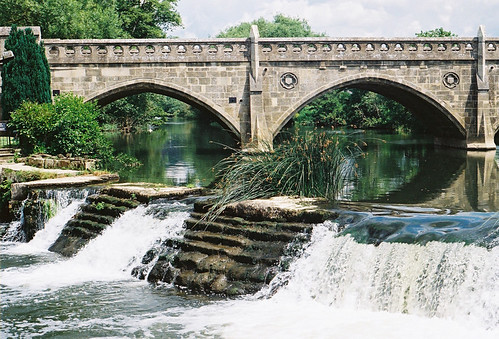
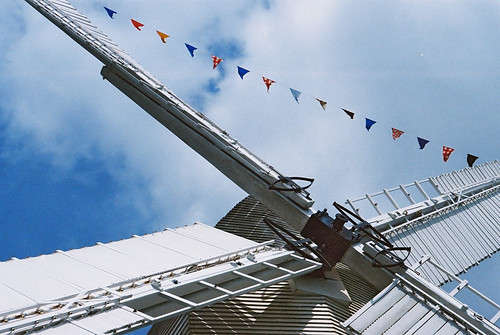
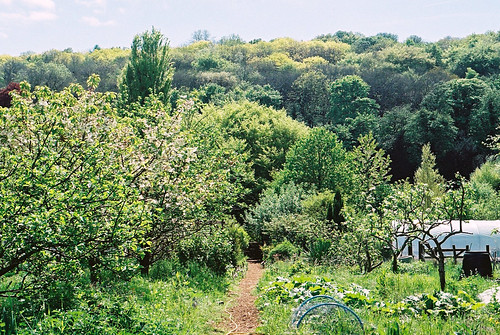
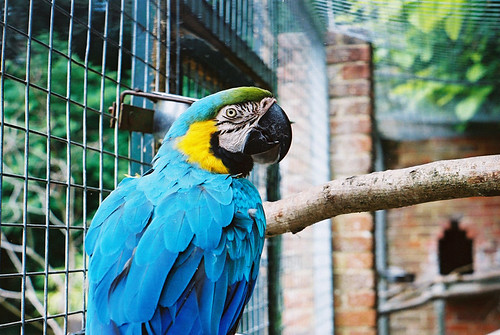
A weir along the river from bath // I-spy dogs // Oldland windmill // Goats on Highdown hill // Ben enjoying the boat trip // Community gardens in Stanmer Park // Birdworld // Spring blossom // Ducks in Arundel
Labels:
day trip,
film,
photography,
trip
Wednesday, 23 July 2014
south west coast
Today we booked a cottage for a few days in Cornwall next month. If it's anything like the mini holiday we took last summer then I'll be very happy.
Oh, and we will have a pet cat for our short stay - what a treat!
Monday, 21 July 2014
on the needles
Sunday, 20 July 2014
weekend printmaking
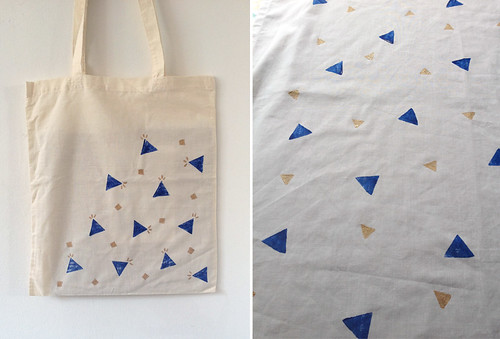
Yesterday I spent the afternoon doing some potato printing.
It has been ages since I've done any printmaking so it was really nice to do some printing with such simple and immediate results.
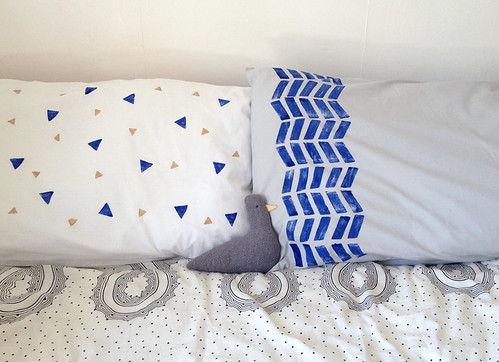
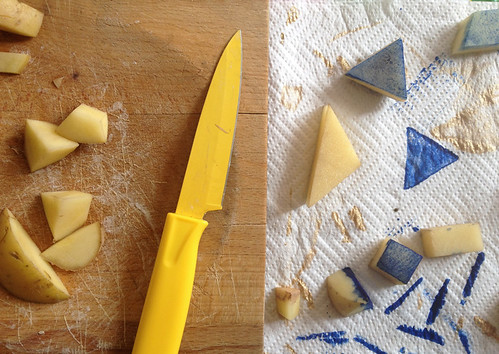
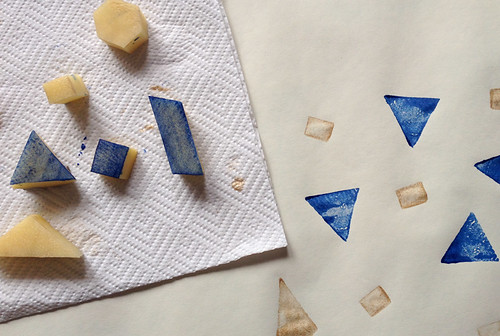
I used some gold and navy fabric paints, chopped up a couple of potatoes and tried them out on some paper, tote bags and pillowcases.
The navy worked really well on the pillowcases. The gold paint doesn't look that bold from a distance but looks nice up close as it's really sparkly. I think I'll invest in a wider range of colours next time though - it would be good to create something really bright!
Pleasing potato patterns.
Friday, 18 July 2014
a cardigan for summer
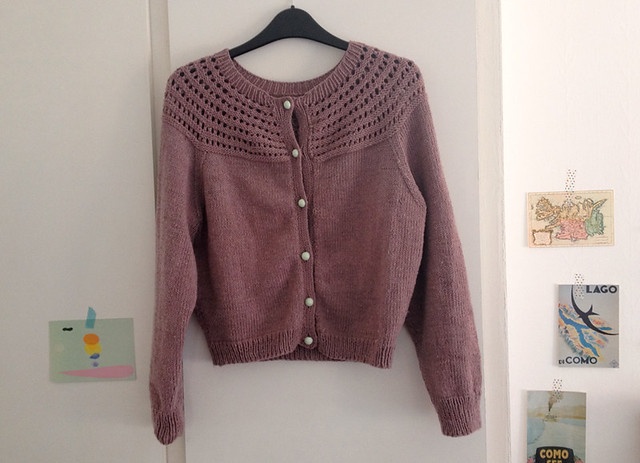
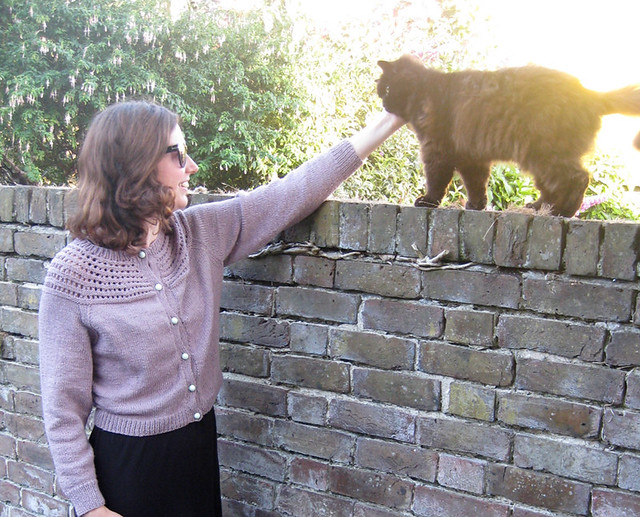
Here's the knitting project that I mentioned the other day. I finished it! A nice summer's cardigan.
I used a pattern from this book, as recommended by Emily who has made a few gems from the pattern, including this amazing sparkly number. The pattern recommended some super soft angora wool, which would have been a real treat, but I was aiming for a more summery garment so I substituted it for some recycled cotton yarn.
I'm really pleased with the outcome - its very comfortable and the right level of cosy. And it was really pleasant to make as it was mostly knitted together as one piece, so I managed to avoid too much of the dreaded sewing together.
Perfect for a summer's evening in the garden or by the sea.
And I might well make a winter version at some point too, using some cosy lambswool. Super soft, like this little friend...
Monday, 14 July 2014
let's cook: cheesecakes
This instalment of our cooking challenge is dedicated to cheesecakes.
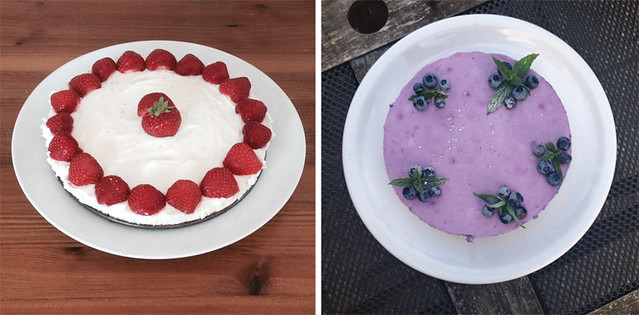
You can see our results above. My mum made the strawberry cheesecake on the left, and I made the blueberry one on the right. What a feast for the eyes they both turned out to be!
I enjoyed this challenge a lot. Browsing for recipes was a real pleasure, and when I stumbled across this purple delight shared by Kelly of sass & veracity I was sold.
I found the recipe a tad fiddly, as it was from a Scandinavian book and a lot of the ingredients were measured in volume rather than weight - it's tricky to know how much a litre of blueberries is! I was also feeding a couple of vegetarians so had to substitute the gelatine for a vegetarian alternative.
That meant I ended up changing some of the measurements so it was all a bit of a gamble, but it paid off I think! The cheesecake had a very light mousse-like consistency (possibly down to the gelatine), and I think it would make a great dessert for any summer dinnertime.
The reviews were pretty positive too, with the only downside being that the biscuit base was a bit on the soft side (I think this could be rectified by chilling the mixture a bit more before constructing the cake).
My mum wasn't entirely satisfied with her one. The base was a bit on the solid side, and ended up extremely hard to slice through. She reckons it looked better than it tasted, and unfortunately my dad (head judge) agreed.
So the scores are in:
I got awarded 9/10 with one point deducted for a soggy base.
My mum got a 6/10 from my dad - not a bad score!
I'd say that was a pretty successful one all round!
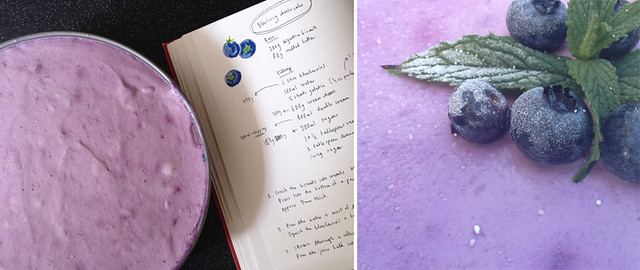
If you fancy making a purple cheesecake of your own, here's my adaptation of the recipe:
- - - - - - - - - - - - - - - - - - - - - - - - - - - - - - - - - - - - - - -
Blueberry cheesecake
(using a 23cm cake tin)
Ingredients
For the base:
200g digestive biscuits
80g melted butter (unsalted)
For the filling:
470g blueberries
100ml water
1 sachet vegetarian gelatine
500g cream cheese
300ml whipping cream
160g fine golden caster sugar
1½ tablespoons vanilla sugar
1 tablespoon lemon juice
To decorate:
Icing sugar
Fresh mint
Instructions
Crush the biscuits into crumbs and mix with the melted butter. Press into the bottom of a parchment-lined cake tin. The layer should be about 5mm thick.
Pour the water and most of the blueberries (save some to decorate the top!) into a saucepan. Squish the blueberries with a pestle or rolling pin and boil for a few minutes. The colour should now be a lovely deep purple.
Strain through a sieve to give a clear juice, and then pour the juice back into the pan.
Soak the vegetarian gelatine flakes in a little cold water to dissolve them a bit, then add to the blueberry juice and heat at a low temperature. Once it's all mixed in with the juice allow it to cool. Add the caster sugar to this mixture while it's still a little warm so that the sugar also dissolves.
Whip the cream, then mix with the cream cheese, vanilla sugar, lemon juice and finally the blueberry mixture.
Stir until the mixture becomes a nice even purple colour. I would then pop it in the fridge for a little bit (approx. half an hour) to cool the mixture down before adding to the biscuit base - hopefully this will avoid a soggy bottom.
Cover the base with the mixture and smooth over the surface with a spatula.
Keep refrigerated overnight (or for a minimum of 4 hours).
When you are ready, remove from the tin, decorate with the remaining blueberries, fresh mint and icing sugar. Then serve.
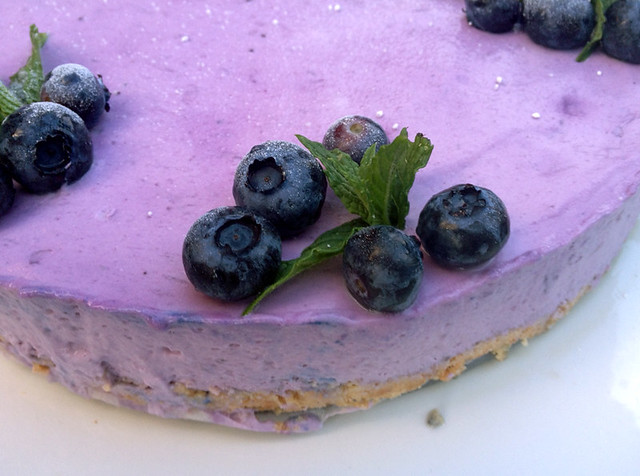
Yummy!
Next time the challenge is to make two different dips and some dipping sticks. Summer snacks.
Subscribe to:
Posts (Atom)